Description
 Thermal Needle Measuring System
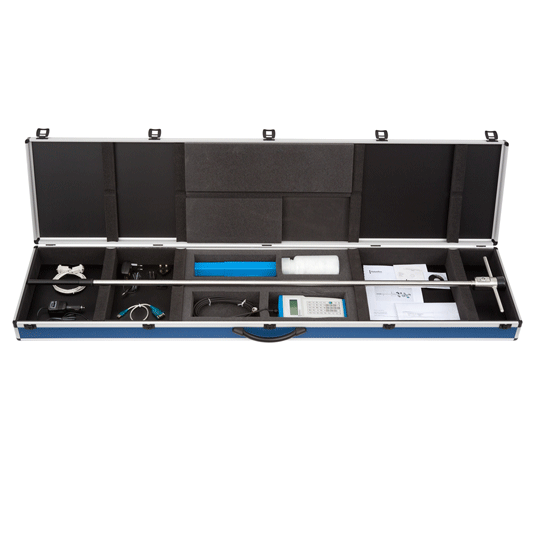
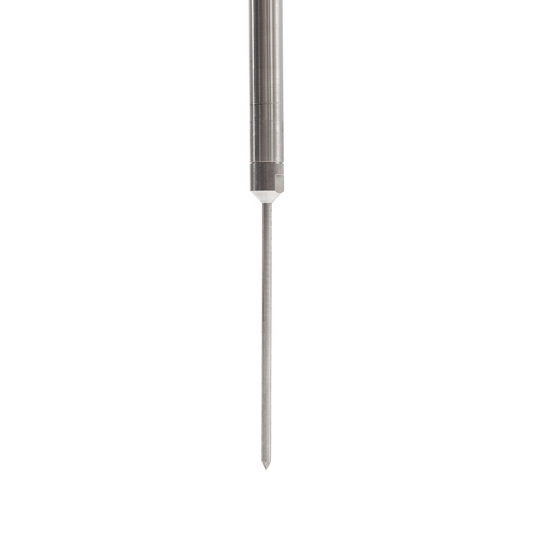
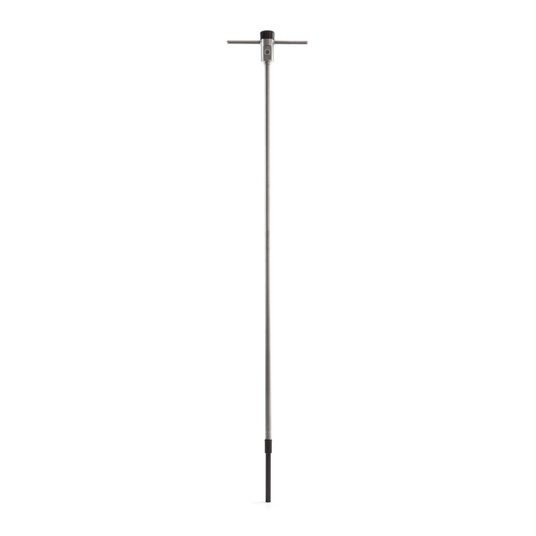
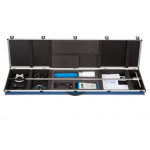
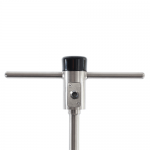
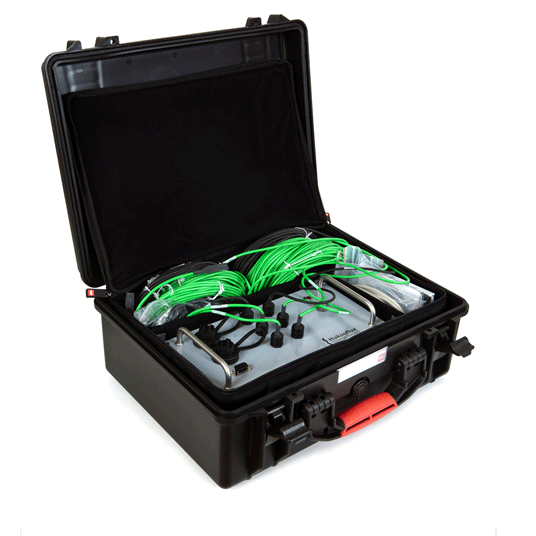
FTN02 is a thermal needle measuring system for on-site measurements of thermal conductivity (or the inverse value, resistivity) at depths from the surface down to a depth of 1.5 metre. Due to its robustness and length, FTN02 is the best solution for route-surveying of high-voltage electric power cables and heated pipelines (typical depth of burial of 1.5 m). The measurement method is based on the use of a “thermal needle”. This method employs a heating wire and a temperature sensor in a needle. The FTN02 system consists of the thermal needle, model TP09, mounted on a long lance, LN02, and a control and readout unit CRU02. FTN02 is easy to use. After making a small-diameter access hole, the thermal needle TP09 is brought down to just above the point that must be investigated and then pushed into the local undisturbed soil below. The user performs control and readout of the measurement from the handheld CRU02. The measurement result is generated immediately by the CRU02 from the analysis of the time series of the temperature and the heating power during the heating interval.

 Advantages
Suitable for on-site (field) surveys: FTN02 is sufficiently robust to survive rough handling during a typical survey. It performs measurements as a stand-alone unit. The batteries in the CRU02 can be recharged through the cigarette-lighter receptacle in an automobile, using the CA02 car adapter, or from 220/110 VAC using the WSA02 wall socket adapter.
Saving time: With FTN02 there is no need for digging a large-diameter access hole to perform measurements. Because of the lance LN02, drilling a small access hole made with a ground drill, typically 30 mm in diameter, is sufficient. With measurement systems without a lance, such as MTN02, the user has to make a large-diameter access hole or even to dig a trench. A typical measurement requires around 60 s to get to thermal equilibrium plus 300 s for the actual heating interval.
 Easy data processing: CRU02 gives an immediate indication of the end result and an indication of the quality of the measurement. It can store 50 measurements. ASTM and IEEE require that the end result is visually checked and recalculated. This is typically done during later analysis of the measured data in a spreadsheet. CRU02 is connected to a PC by using USB.
Local calibration / conformity assessment: The accuracy of the measuring system can be verified (before a survey) by measurement in glycerol. For high accuracy verification against a reference material with formal traceability, CRC05 calibration reference cylinders can be separately purchased.
Suggested Use
- Route surveys, on-site (field) measurements
- With extension for laboratory analysis of soil specimens (see TNS02)
Areas of Application


